
portainer中的操作※
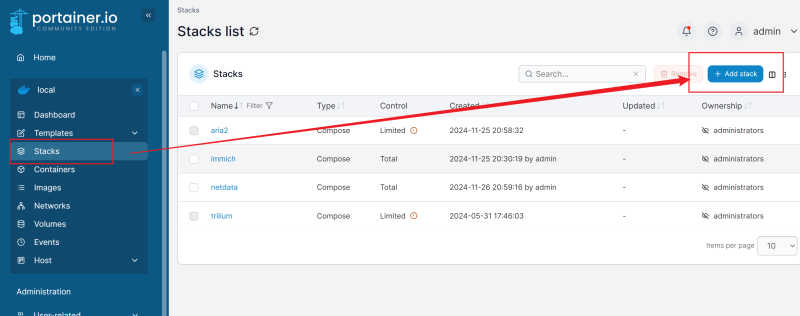
打开portainer,选择stacks,后add stack
官方在docker的安装支持上,提供了两个文件:
docker-compose.yml example.env
docker-compose.yml

将env所有的字段删除——原因是portainer有bug,会提示找不到env文件,删除无影响
#
# WARNING: Make sure to use the docker-compose.yml of the current release:
#
# https://github.com/immich-app/immich/releases/latest/download/docker-compose.yml
#
# The compose file on main may not be compatible with the latest release.
#

name: immich

services:
  immich-server:
    container_name: immich_server
    image: ghcr.io/immich-app/immich-server:${IMMICH_VERSION:-release}
    # extends:
    #   file: hwaccel.transcoding.yml
    #   service: cpu # set to one of [nvenc, quicksync, rkmpp, vaapi, vaapi-wsl] for accelerated transcoding
    volumes:
      # Do not edit the next line. If you want to change the media storage location on your system, edit the value of UPLOAD_LOCATION in the .env file
      - ${UPLOAD_LOCATION}:/usr/src/app/upload
      - /etc/localtime:/etc/localtime:ro
    ports:
      - '2283:2283'
    depends_on:
      - redis
      - database
    restart: always
    healthcheck:
      disable: false

  immich-machine-learning:
    container_name: immich_machine_learning
    # For hardware acceleration, add one of -[armnn, cuda, openvino] to the image tag.
    # Example tag: ${IMMICH_VERSION:-release}-cuda
    image: ghcr.io/immich-app/immich-machine-learning:${IMMICH_VERSION:-release}
    # extends: # uncomment this section for hardware acceleration - see https://immich.app/docs/features/ml-hardware-acceleration
    #   file: hwaccel.ml.yml
    #   service: cpu # set to one of [armnn, cuda, openvino, openvino-wsl] for accelerated inference - use the `-wsl` version for WSL2 where applicable
    volumes:
      - model-cache:/cache
    restart: always
    healthcheck:
      disable: false

  redis:
    container_name: immich_redis
    image: docker.io/redis:6.2-alpine@sha256:eaba718fecd1196d88533de7ba49bf903ad33664a92debb24660a922ecd9cac8
    healthcheck:
      test: redis-cli ping || exit 1
    restart: always

  database:
    container_name: immich_postgres
    image: docker.io/tensorchord/pgvecto-rs:pg14-v0.2.0@sha256:90724186f0a3517cf6914295b5ab410db9ce23190a2d9d0b9dd6463e3fa298f0
    environment:
      POSTGRES_PASSWORD: ${DB_PASSWORD}
      POSTGRES_USER: ${DB_USERNAME}
      POSTGRES_DB: ${DB_DATABASE_NAME}
      POSTGRES_INITDB_ARGS: '--data-checksums'
    volumes:
      # Do not edit the next line. If you want to change the database storage location on your system, edit the value of DB_DATA_LOCATION in the .env file
      - ${DB_DATA_LOCATION}:/var/lib/postgresql/data
    healthcheck:
      test: pg_isready --dbname='${DB_DATABASE_NAME}' --username='${DB_USERNAME}' || exit 1; Chksum="$$(psql --dbname='${DB_DATABASE_NAME}' --username='${DB_USERNAME}' --tuples-only --no-align --command='SELECT COALESCE(SUM(checksum_failures), 0) FROM pg_stat_database')"; echo "checksum failure count is $$Chksum"; [ "$$Chksum" = '0' ] || exit 1
      interval: 5m
      start_interval: 30s
      start_period: 5m
    command:
      [
        'postgres',
        '-c',
        'shared_preload_libraries=vectors.so',
        '-c',
        'search_path="$$user", public, vectors',
        '-c',
        'logging_collector=on',
        '-c',
        'max_wal_size=2GB',
        '-c',
        'shared_buffers=512MB',
        '-c',
        'wal_compression=on',
      ]
    restart: always

volumes:
  model-cache:
适用第三方模型的,还需要将这个字段更换为本地映射地址,我的QNAP的此处地址映射为/share/Container/immich/machine(随便取,提前建好各文件夹)
example.env
做一下配置
# You can find documentation for all the supported env variables at https://immich.app/docs/install/environment-variables # The location where your uploaded files are stored UPLOAD_LOCATION=/share/homes/admin/immich photos # The location where your database files are stored DB_DATA_LOCATION=/share/Container/immich # To set a timezone, uncomment the next line and change Etc/UTC to a TZ identifier from this list: https://en.wikipedia.org/wiki/List_of_tz_database_time_zones#List # TZ=Etc/UTC # The Immich version to use. You can pin this to a specific version like "v1.71.0" IMMICH_VERSION=release # Connection secret for postgres. You should change it to a random password # Please use only the characters `A-Za-z0-9`, without special characters or spaces DB_PASSWORD=postgres # The values below this line do not need to be changed ################################################################################### DB_USERNAME=postgres DB_DATABASE_NAME=immichUPLOAD_LOCATION和DB_DATA_LOCATION根据实际情况来。其它的不动。
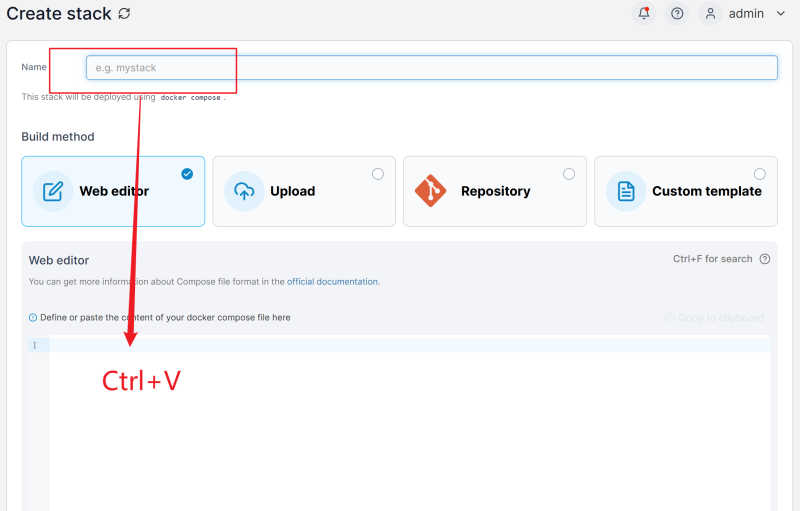
输入名称immich后,将dockercompose粘贴进去:
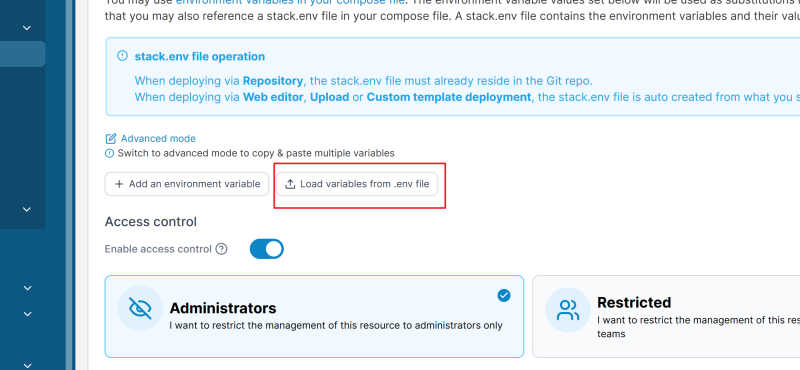
导入刚刚提到的已经修订好的env文件:
以上所有内容完毕后,正式开始拉取映像,由于众所周知的原因,docker官方被阻隔,需要施魔法,此处不多赘述,安装完毕,进入首次配置阶段。
NAS中建好文件,放好模型文件夹※
将中文语言模型和人脸识别模型按照如下格式放好:
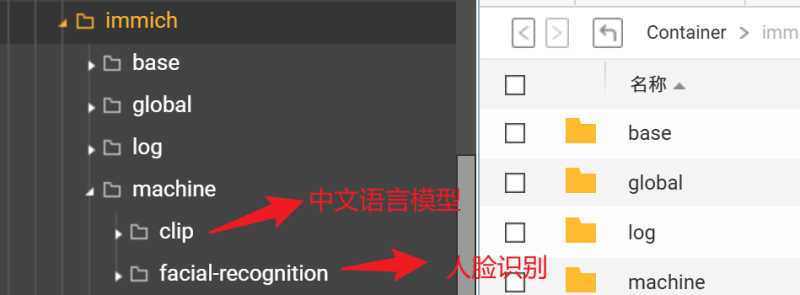
放好后重启stack。
APP中设置※
注册,登陆不多赘述
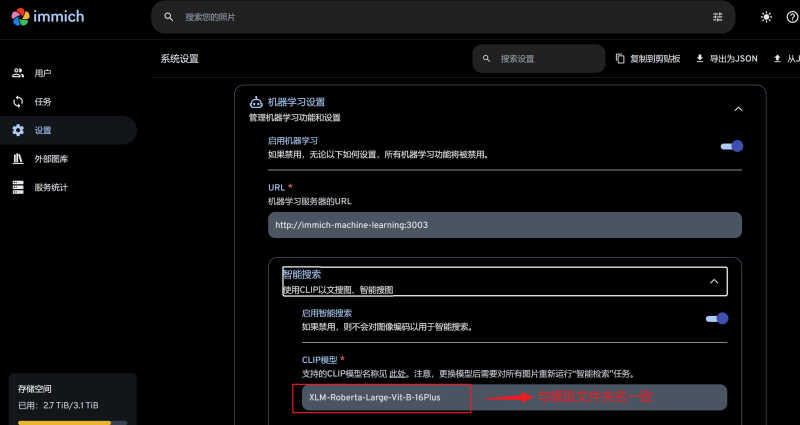
设置好语言模型:
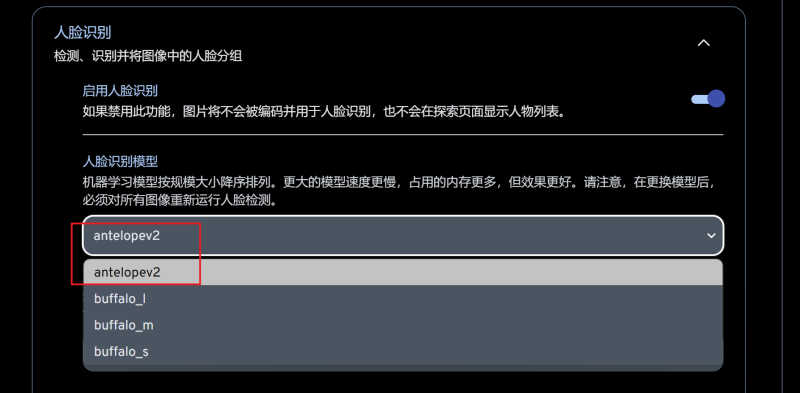
设置好人脸识别模型
文件的自动整理和照片文件自命名我用的以下格式(注意24小时格式用HH):
{{y}}/{{y}}-{{MM}}/{{y}}-{{MM}}-{{dd}} {{HH}}.{{mm}}.{{ss}}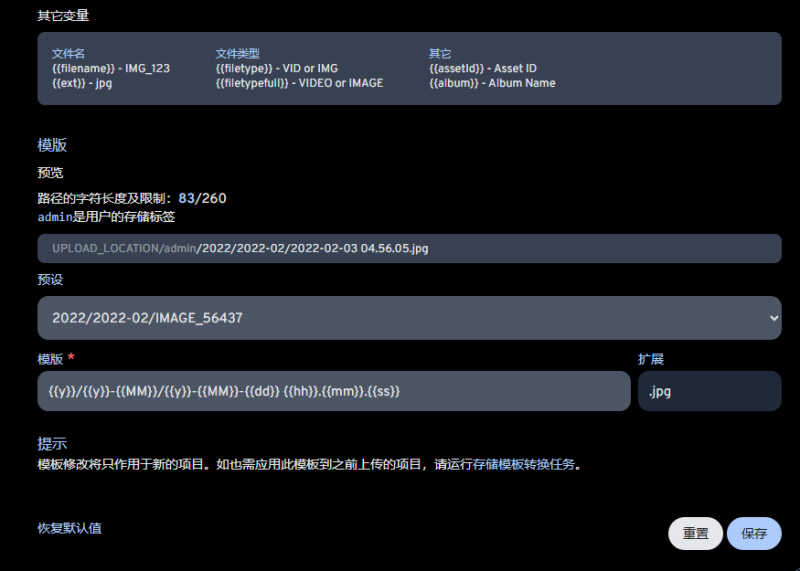
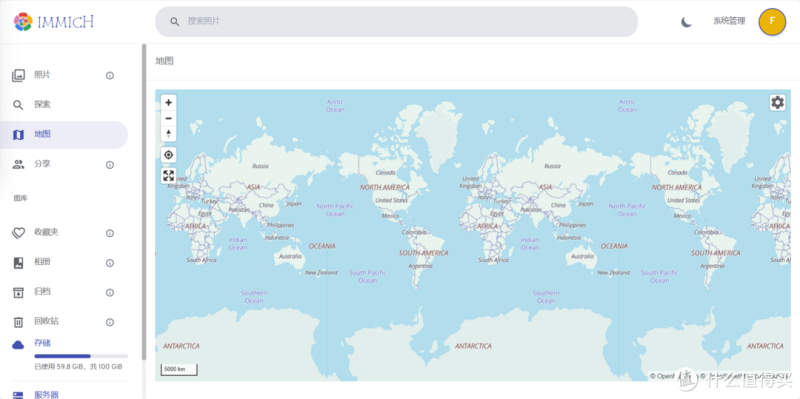
地图修改为中文(来自张大妈——范先森94)※
immich默认地图,地点显示的是英文或者拼音,为方便使用,我们将其改为中文地图
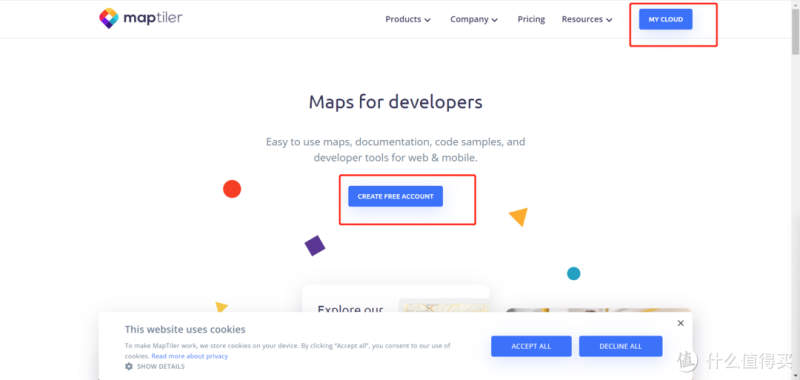
1.注册或登录MapTiler
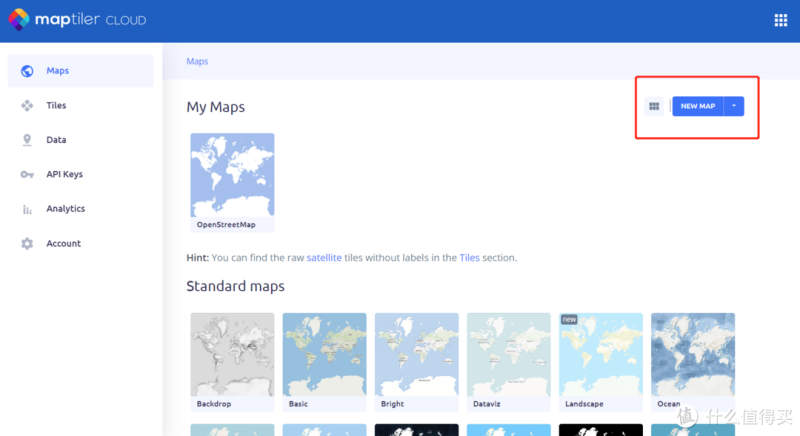
2.点击new map,新建地图
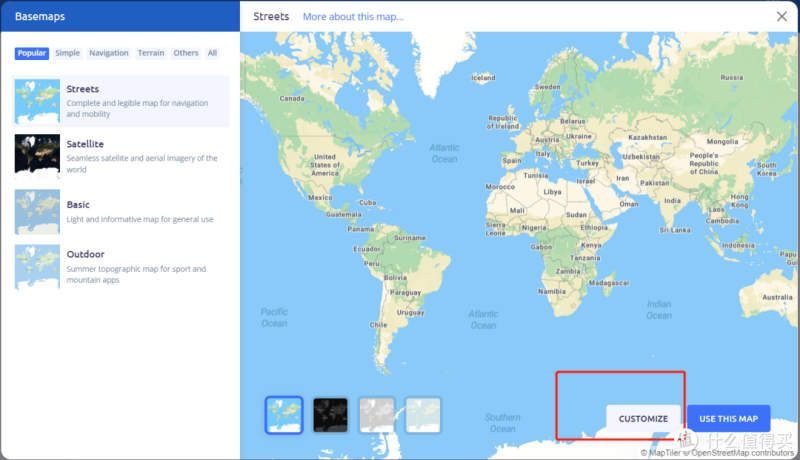
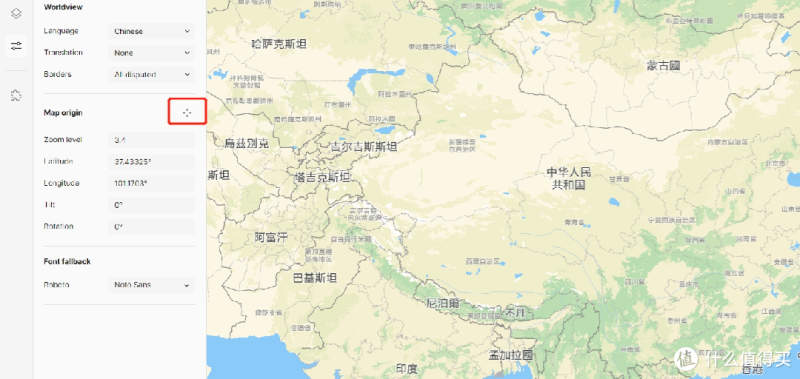
3.点击customize,定制地图样式
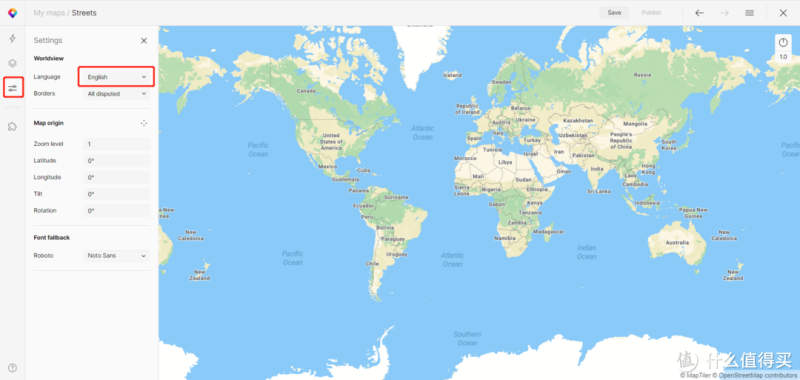
4.左侧配置项中,将语言改为Chinese
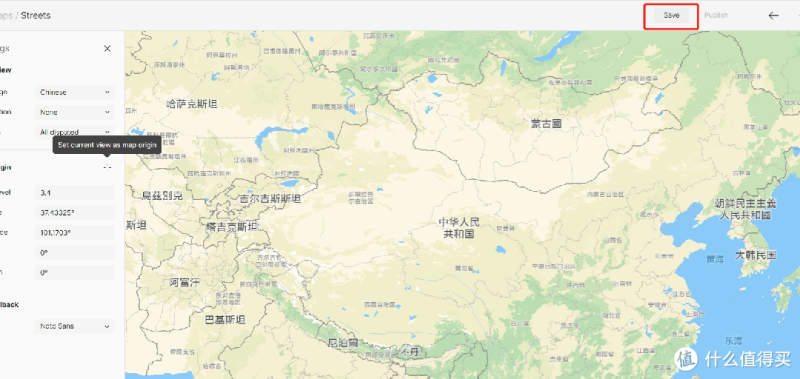
5.选中右侧的地图,将中国放大居中,点击按钮将其配置固定
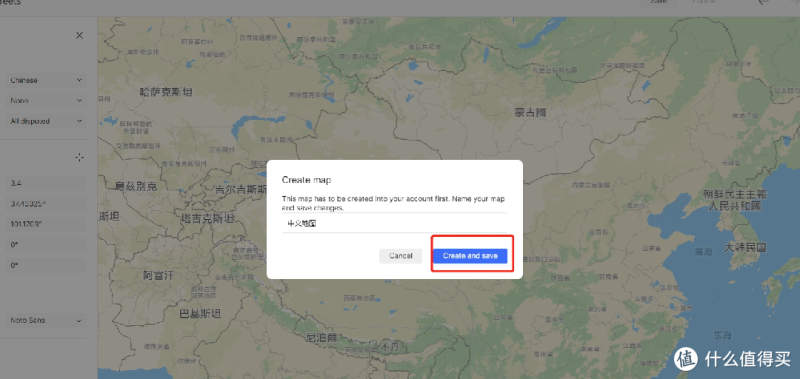
6.点击save按钮保存地图配置
7.设置地图名称
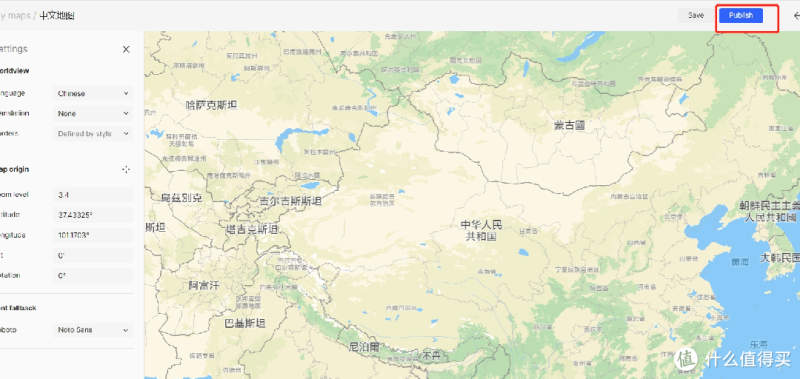
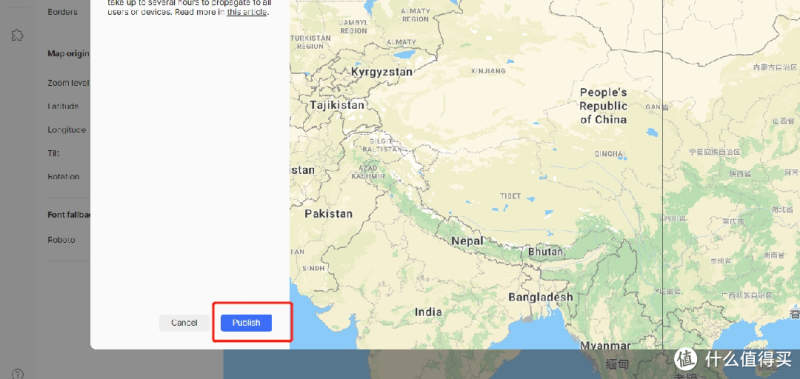
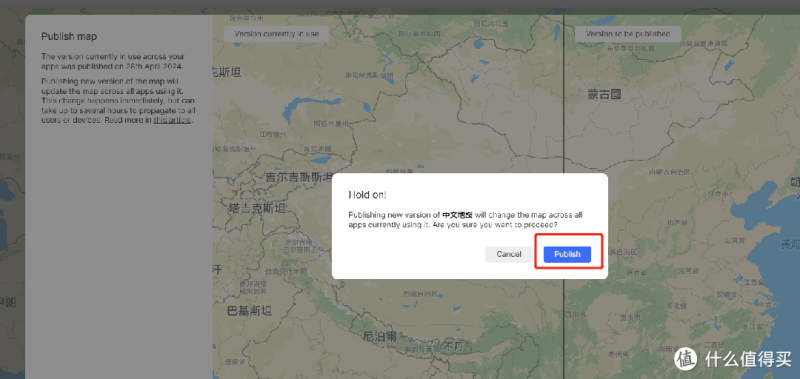
8.点击publish按钮,发布地图
9.发布完地图后,点击关闭按钮,退回地图详情页面
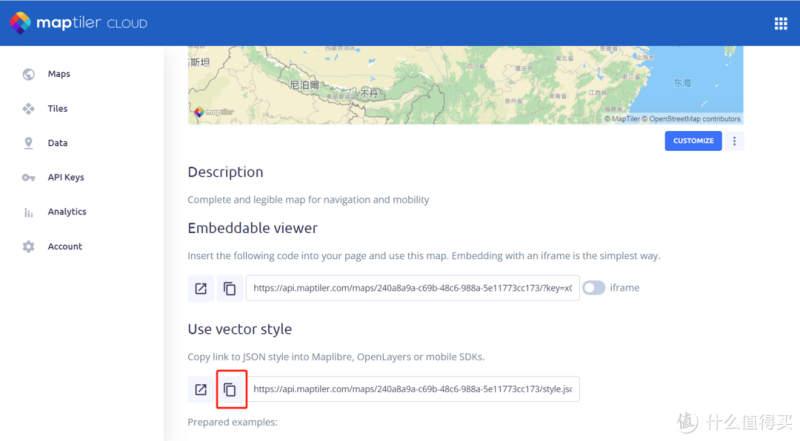
10.复制地图style链接
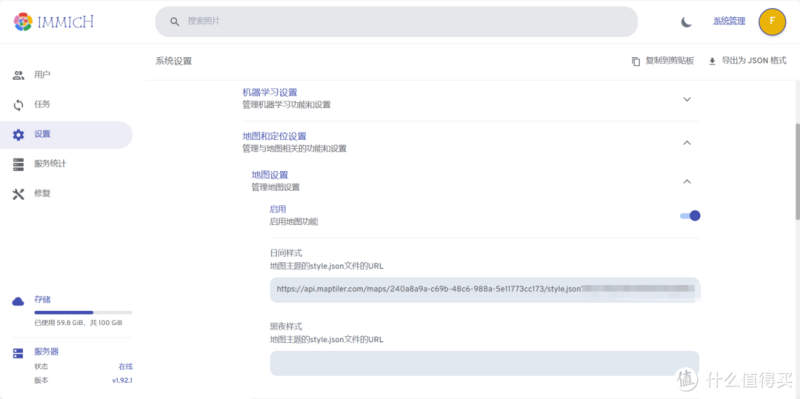
11.配置immich地图设置
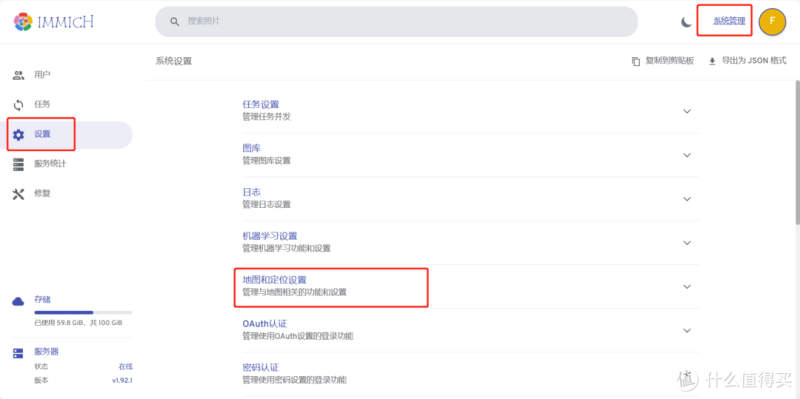
12.将之前复制的style链接粘贴保存
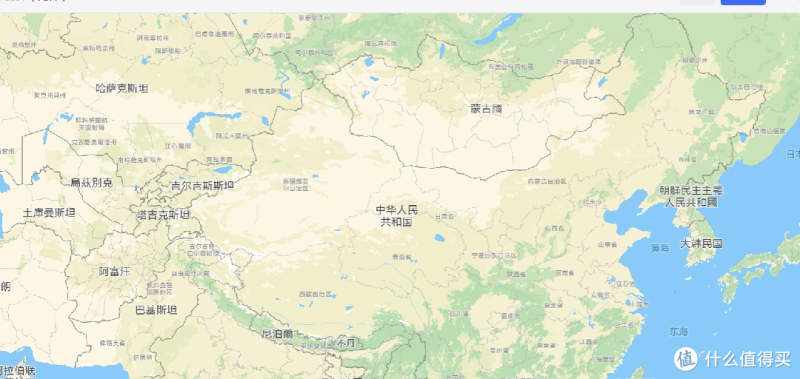
13.最终结果
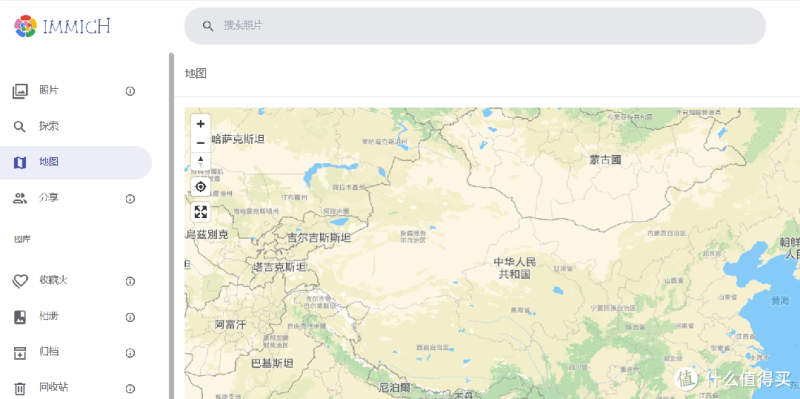
这里用了最基础的地图样式,仅改为中文显示,如需配置其它样式,可在定制地图样式步骤中,自行调整。
另外,MapTiler Free Plan有使用限制,请不要将style链接提供给他人,以免超出使用范围。

地图修改最完美办法(2025年10月8日更新)※
参加 ZingLix/immich-geodata-cn: 为 Immich 提供中文反向地理编码支持,将照片拍摄地点转换为熟悉的中文名称,并支持通过中文地名搜索照片
Immich安装过程中踩坑※
- 用官方docker-compose,乱七八糟的compose会出现无法定位的问题;
- 数据库映射的目录在部署前一定要是空的,否则会报错(这一步卡了很久,我是提前把机器学习和geodata放进去了);
- TZ=Asia/shanghai在环境变量中一定要写,否则存储模板时间错误,日志时间错误;